DONE IT!!
Toe nie heeltemal so moeilik nie. Net die tyd wat min raak na werk, en dan moet 'n man maar voortploeter in die donker.
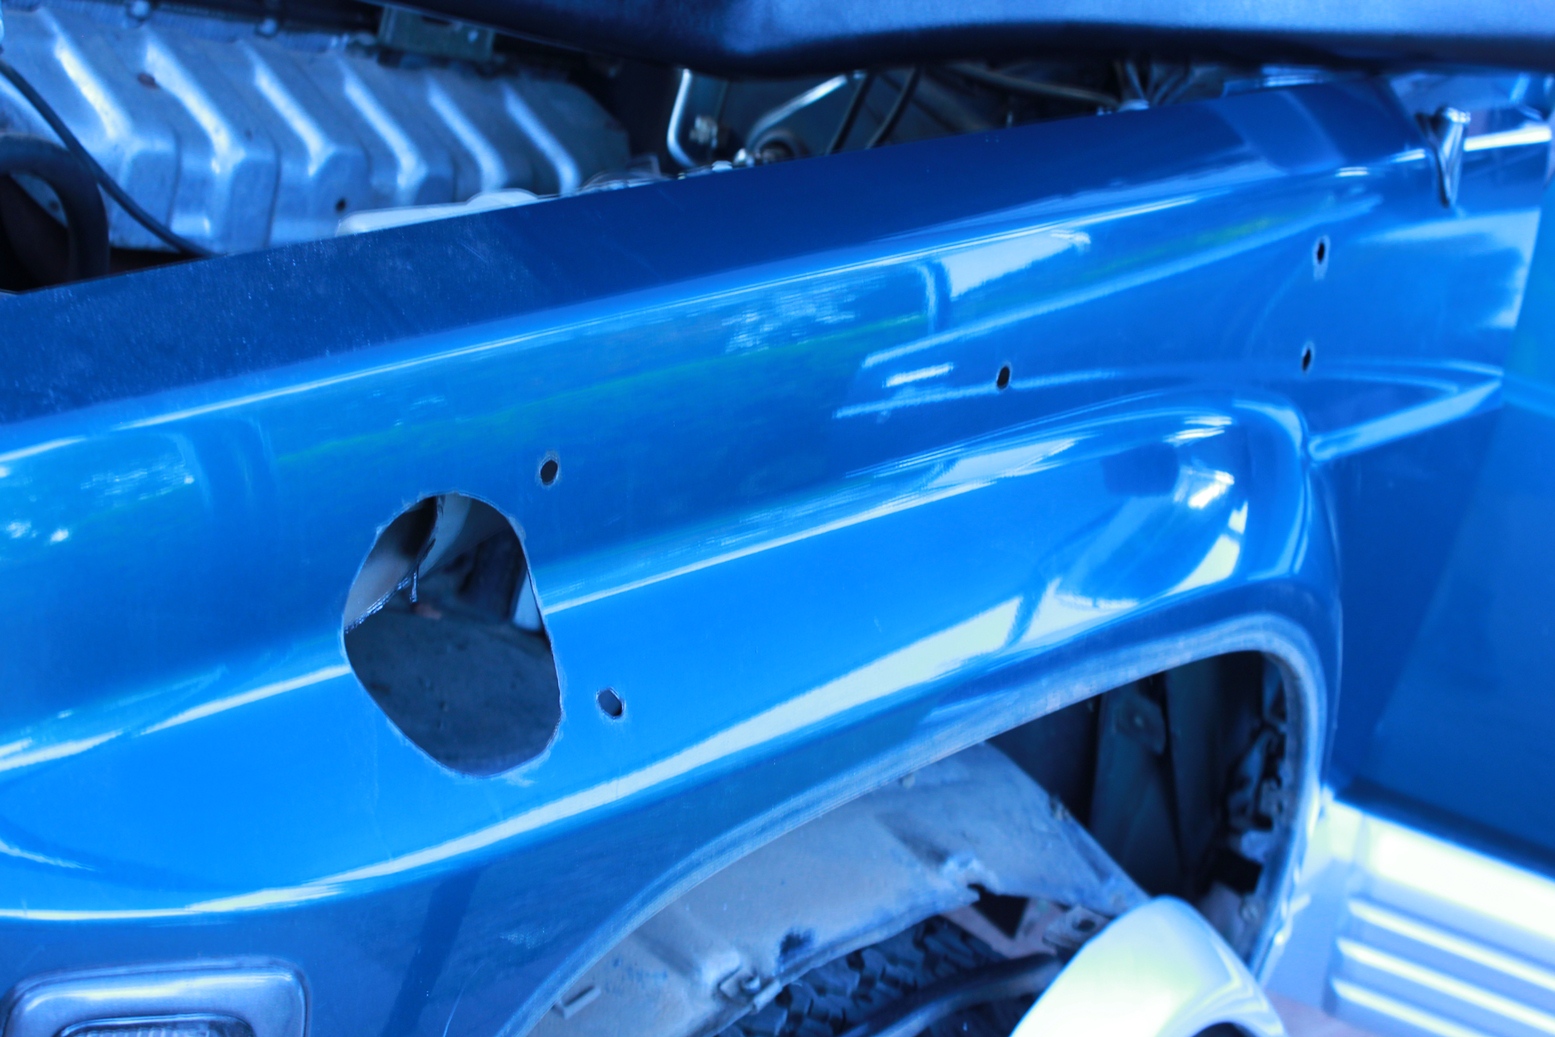
I discarded the template after deciding it would be better to lock the studs into the snorkel and use that to mark where to drill holes. Used some paint on the ends of the studs to mark. Then masked over the paint marks and then used a centre punch to mark before drilling pilot holes with a 4mm bit.
This is what it looked like after drilling.
- IMG_0209resize.jpg (504.16 KiB) Viewed 3522 times
I tried the snorkel, but 2 of the holes had to be moved by 1.5mm. Ijust drilledwith a bitof sideward pressureand made the holesa bit bigger and

, it worked. Then I attached the bracket for the pillar attachment tothe snorkel, marked and drilled 7.5mm holes, shaped it with a dremel for the plastic studs and started assembling the lot.
Oh yes, I also painted all the bare metal where I cutand drilled with hamerite metal paint to protect against rust.
- IMG_0212resize.jpg (501.41 KiB) Viewed 3522 times
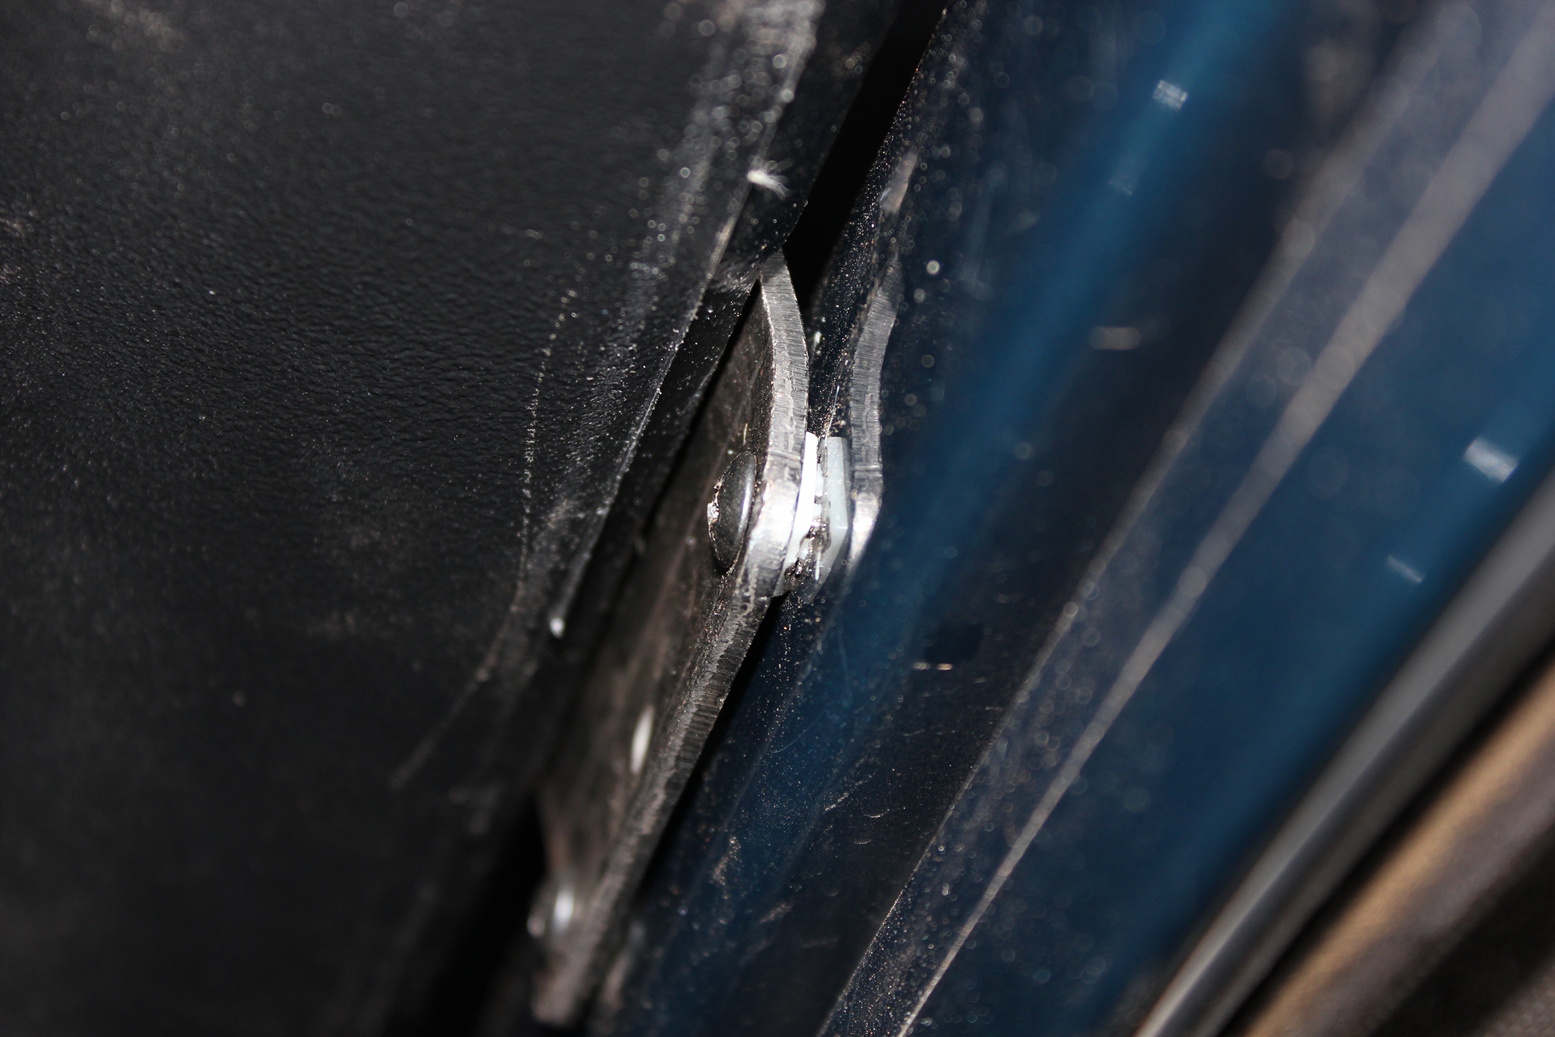
Connection inside the wheelwell
- IMG_0216resize.jpg (498.6 KiB) Viewed 3522 times
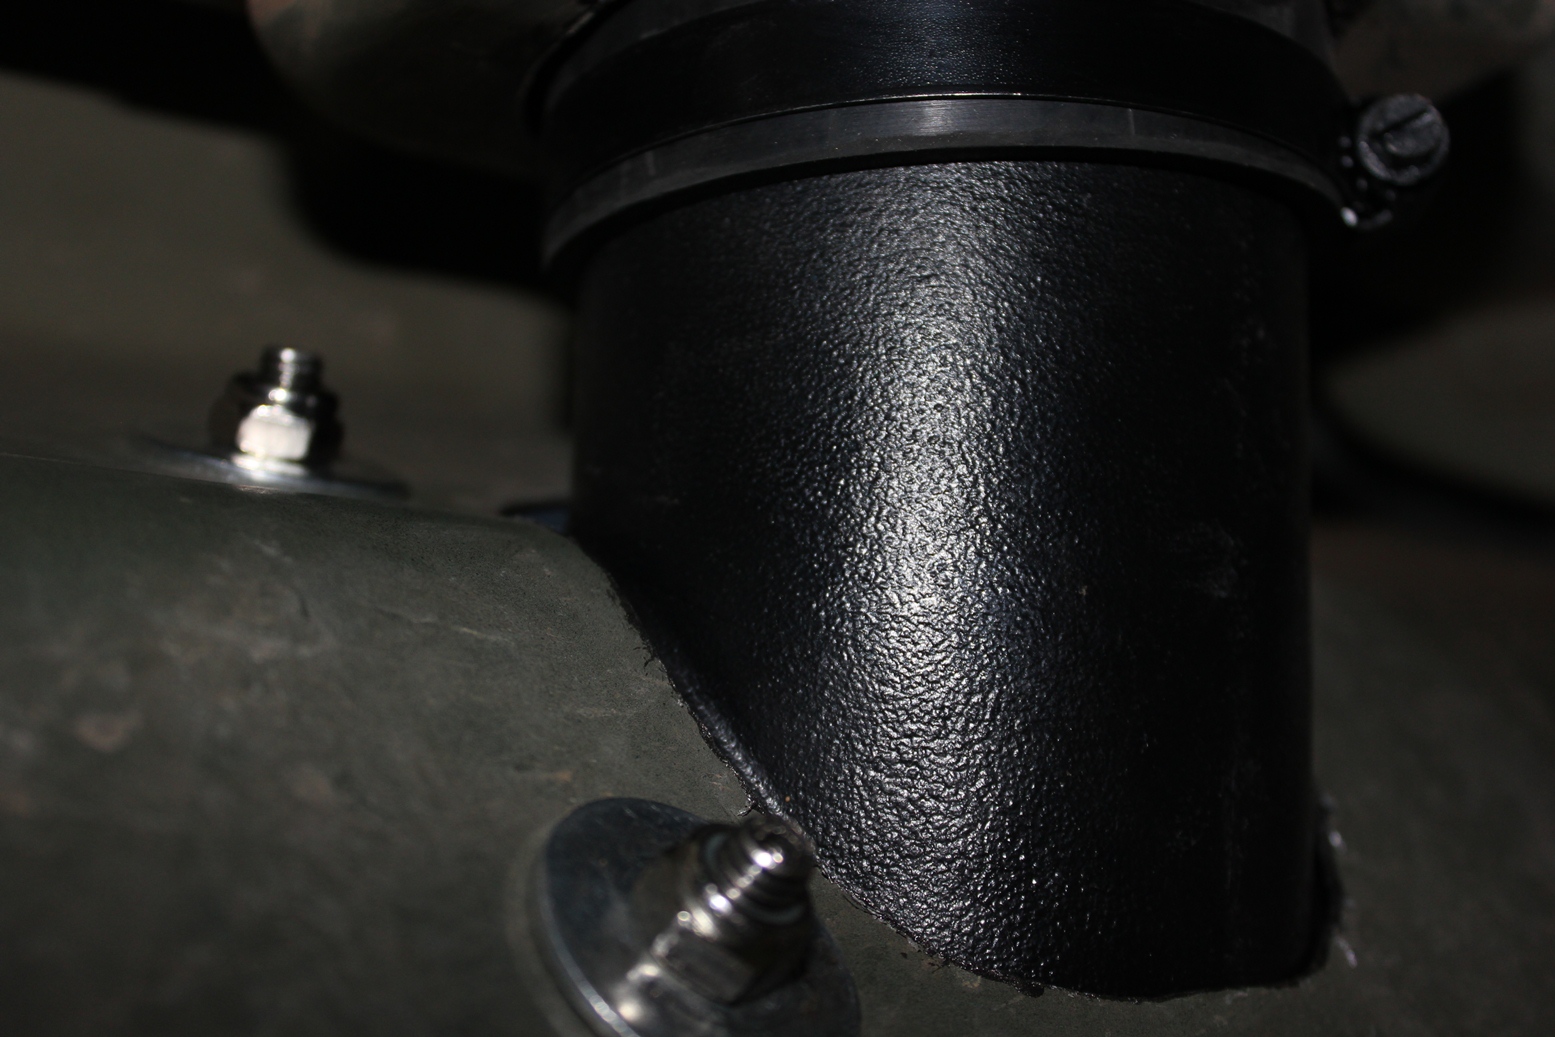
I also sealed all the pieces inside the engine bay with gasket sealer.
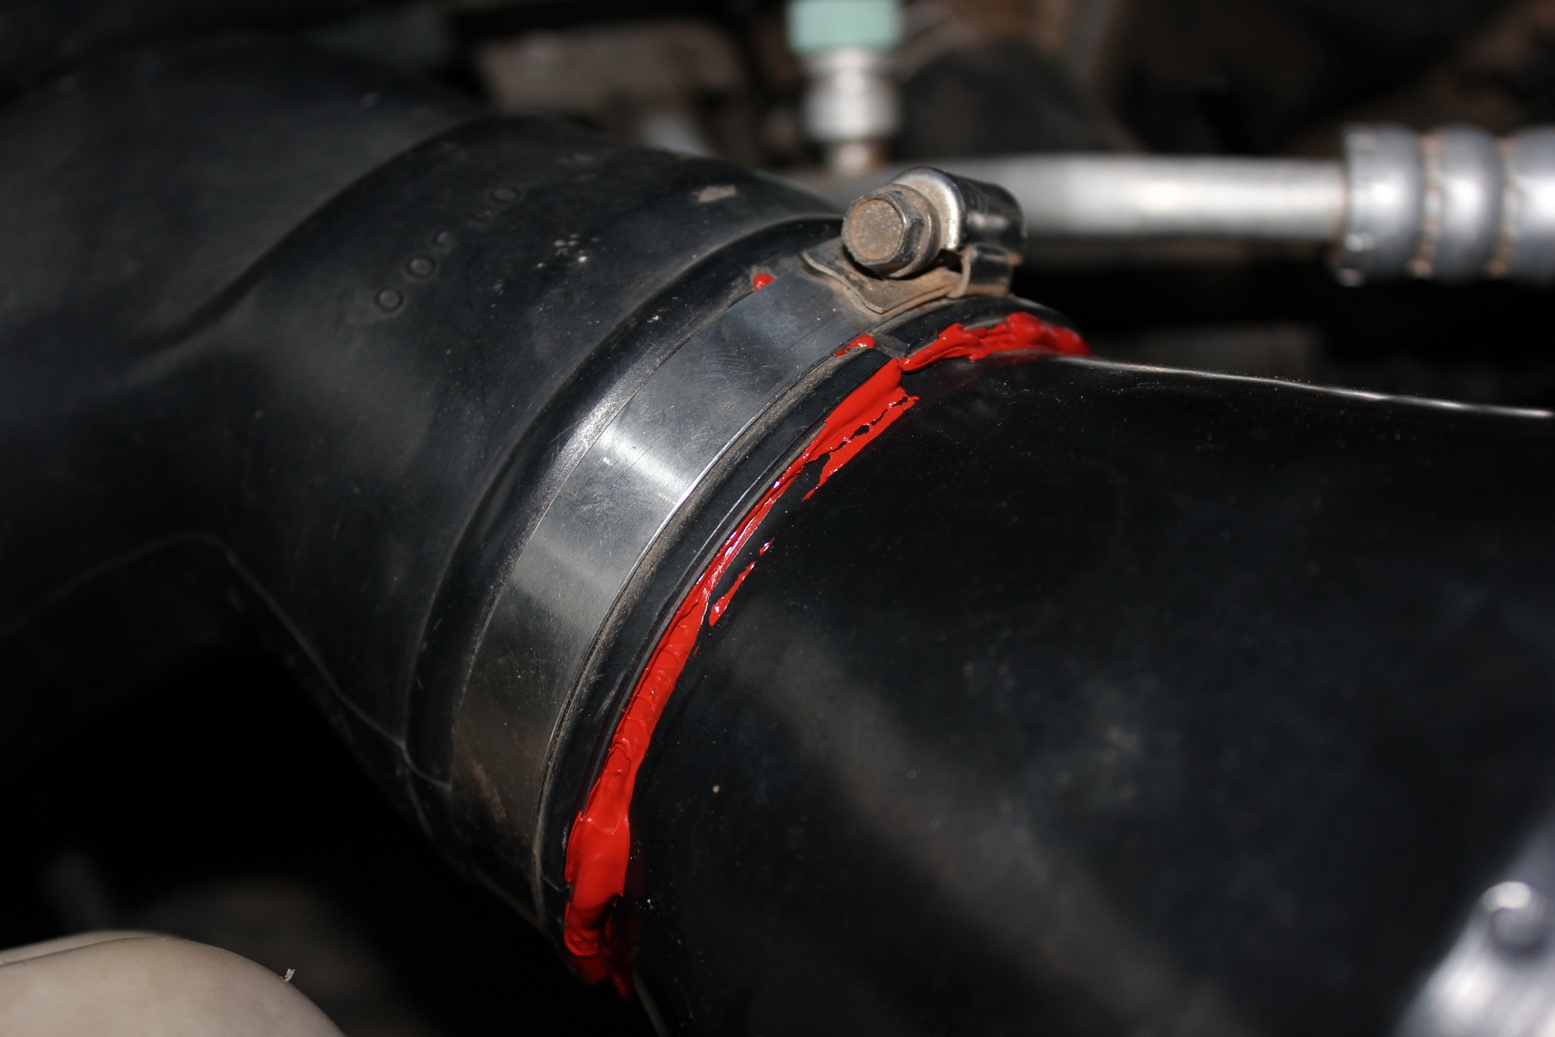
- IMG_0220resize.jpg (406.56 KiB) Viewed 3522 times
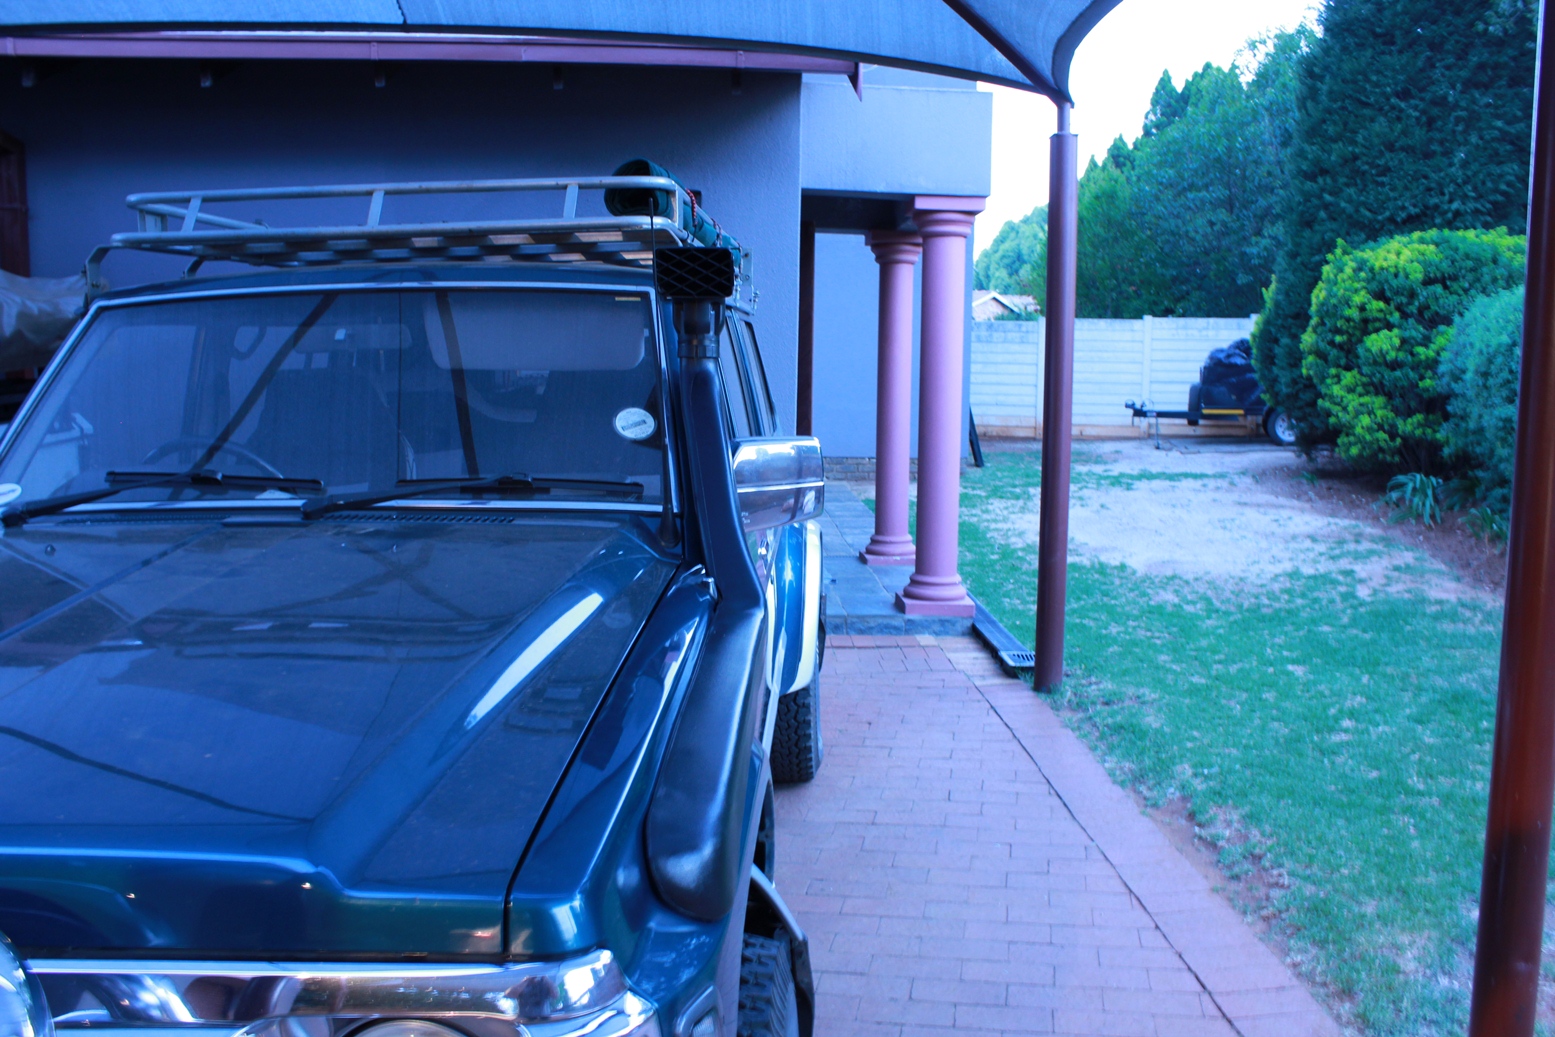
FINISHED!


- IMG_0211resize.jpg (694 KiB) Viewed 3522 times
All that remains is to fit the airbox and refit the wheel arch and dust cover. Another 15 mins or so.
Jules, R2500 is 'n goeie prys as iemand anders dit vir jou kan doen.
Traveler wrote:Netjies, laat die res van die foto's loop.
Mark Schubert in Roodepoort vertel my netnou hy het vandag 14 snorkels verkoop.

Ek wil Saterdag met die EGT toets wat is die verskil in temperatuur met die snorkel gekoop, en met die snorkel ontkoppel op Repulse.
Dit sal interessant wees om die verskil te sien.