I think I have found a better way to mount the left-hand point on the Y61's from '98 to '05 than the previously indicated drilling. The drilling is problematic for various reasons, firstly as the body mount is partially in the way, secondly it is very difficult to drill such large holes by hand and thirdly there is quite a lot of car in the way.
I have however found a source of M12 Rivnuts. These can be installed without modifying the vehicle permanently in any way, and although it is not quite as strong, I feel comfortable saying it is stronger than virtually any other recovery point on the market. Furthermore, the right-hand point is strong enough to allow recovery off a single point, and the left-hand point can then be used for the lanyard.
Rivnuts are usually installed using a special tool, but I have found it quite simple to install them using a spanner and socket, together with a nut, a few flat washers and some ghrease.
Here's how:
Step 1:
Assemble a nut and some greased washers onto the bolt, then screw the bolt into the rivnut antil it fully engages the thread (IE until it's level with the back end). It helps to grip the rivnut in a vice and just start it expanding by turning the nut with a spanner while holding the bolt with a second spanner or socket.
Stop as soon as a bulge starts forming on the knurled section.
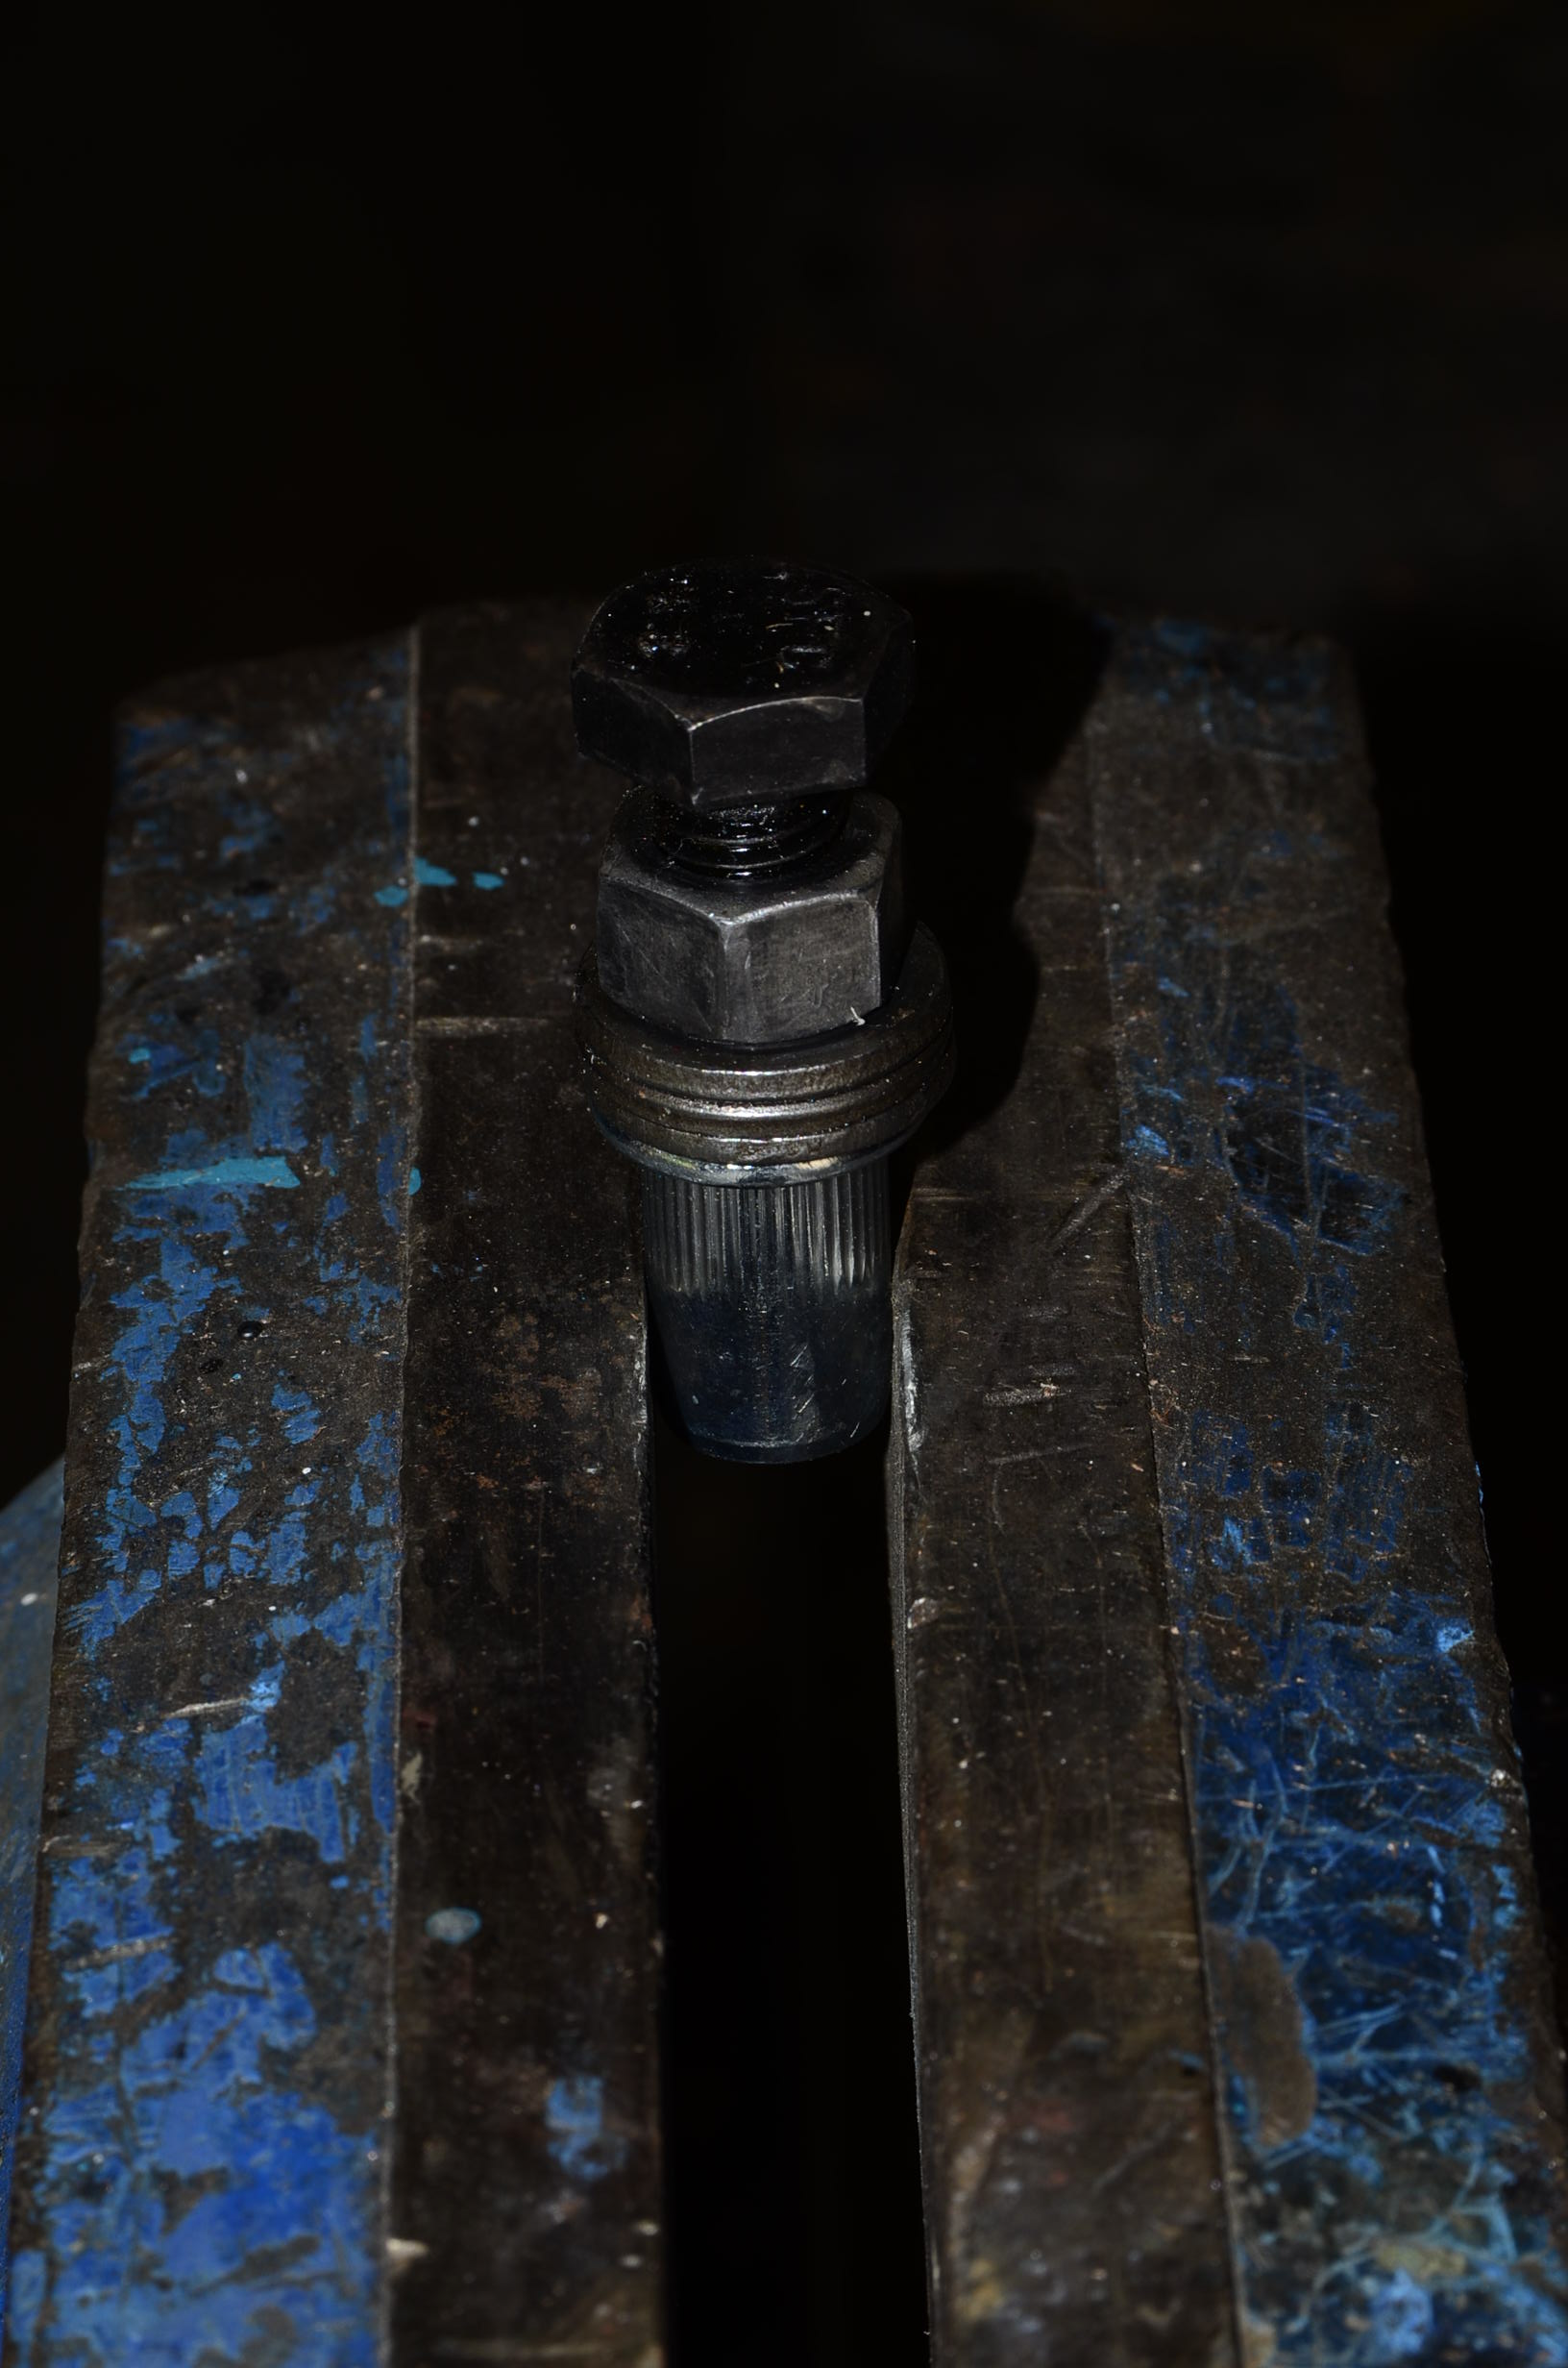
- _DSC3545.JPG (345.71 KiB) Viewed 2335 times
Step 2:
Place the rivnut into one of the holes in the chassis and continue tightening the nut while holding the bolt still. Make sure the rivnut doesn't turn. If it does, pull it to one side, tighten one flat, straighten it, angle again and tighten another flat, repeating the process untill the rivnut is straight and gripping. Continue tightening untill you can feel the resistance suddenly increase. The rivnut is fitted.
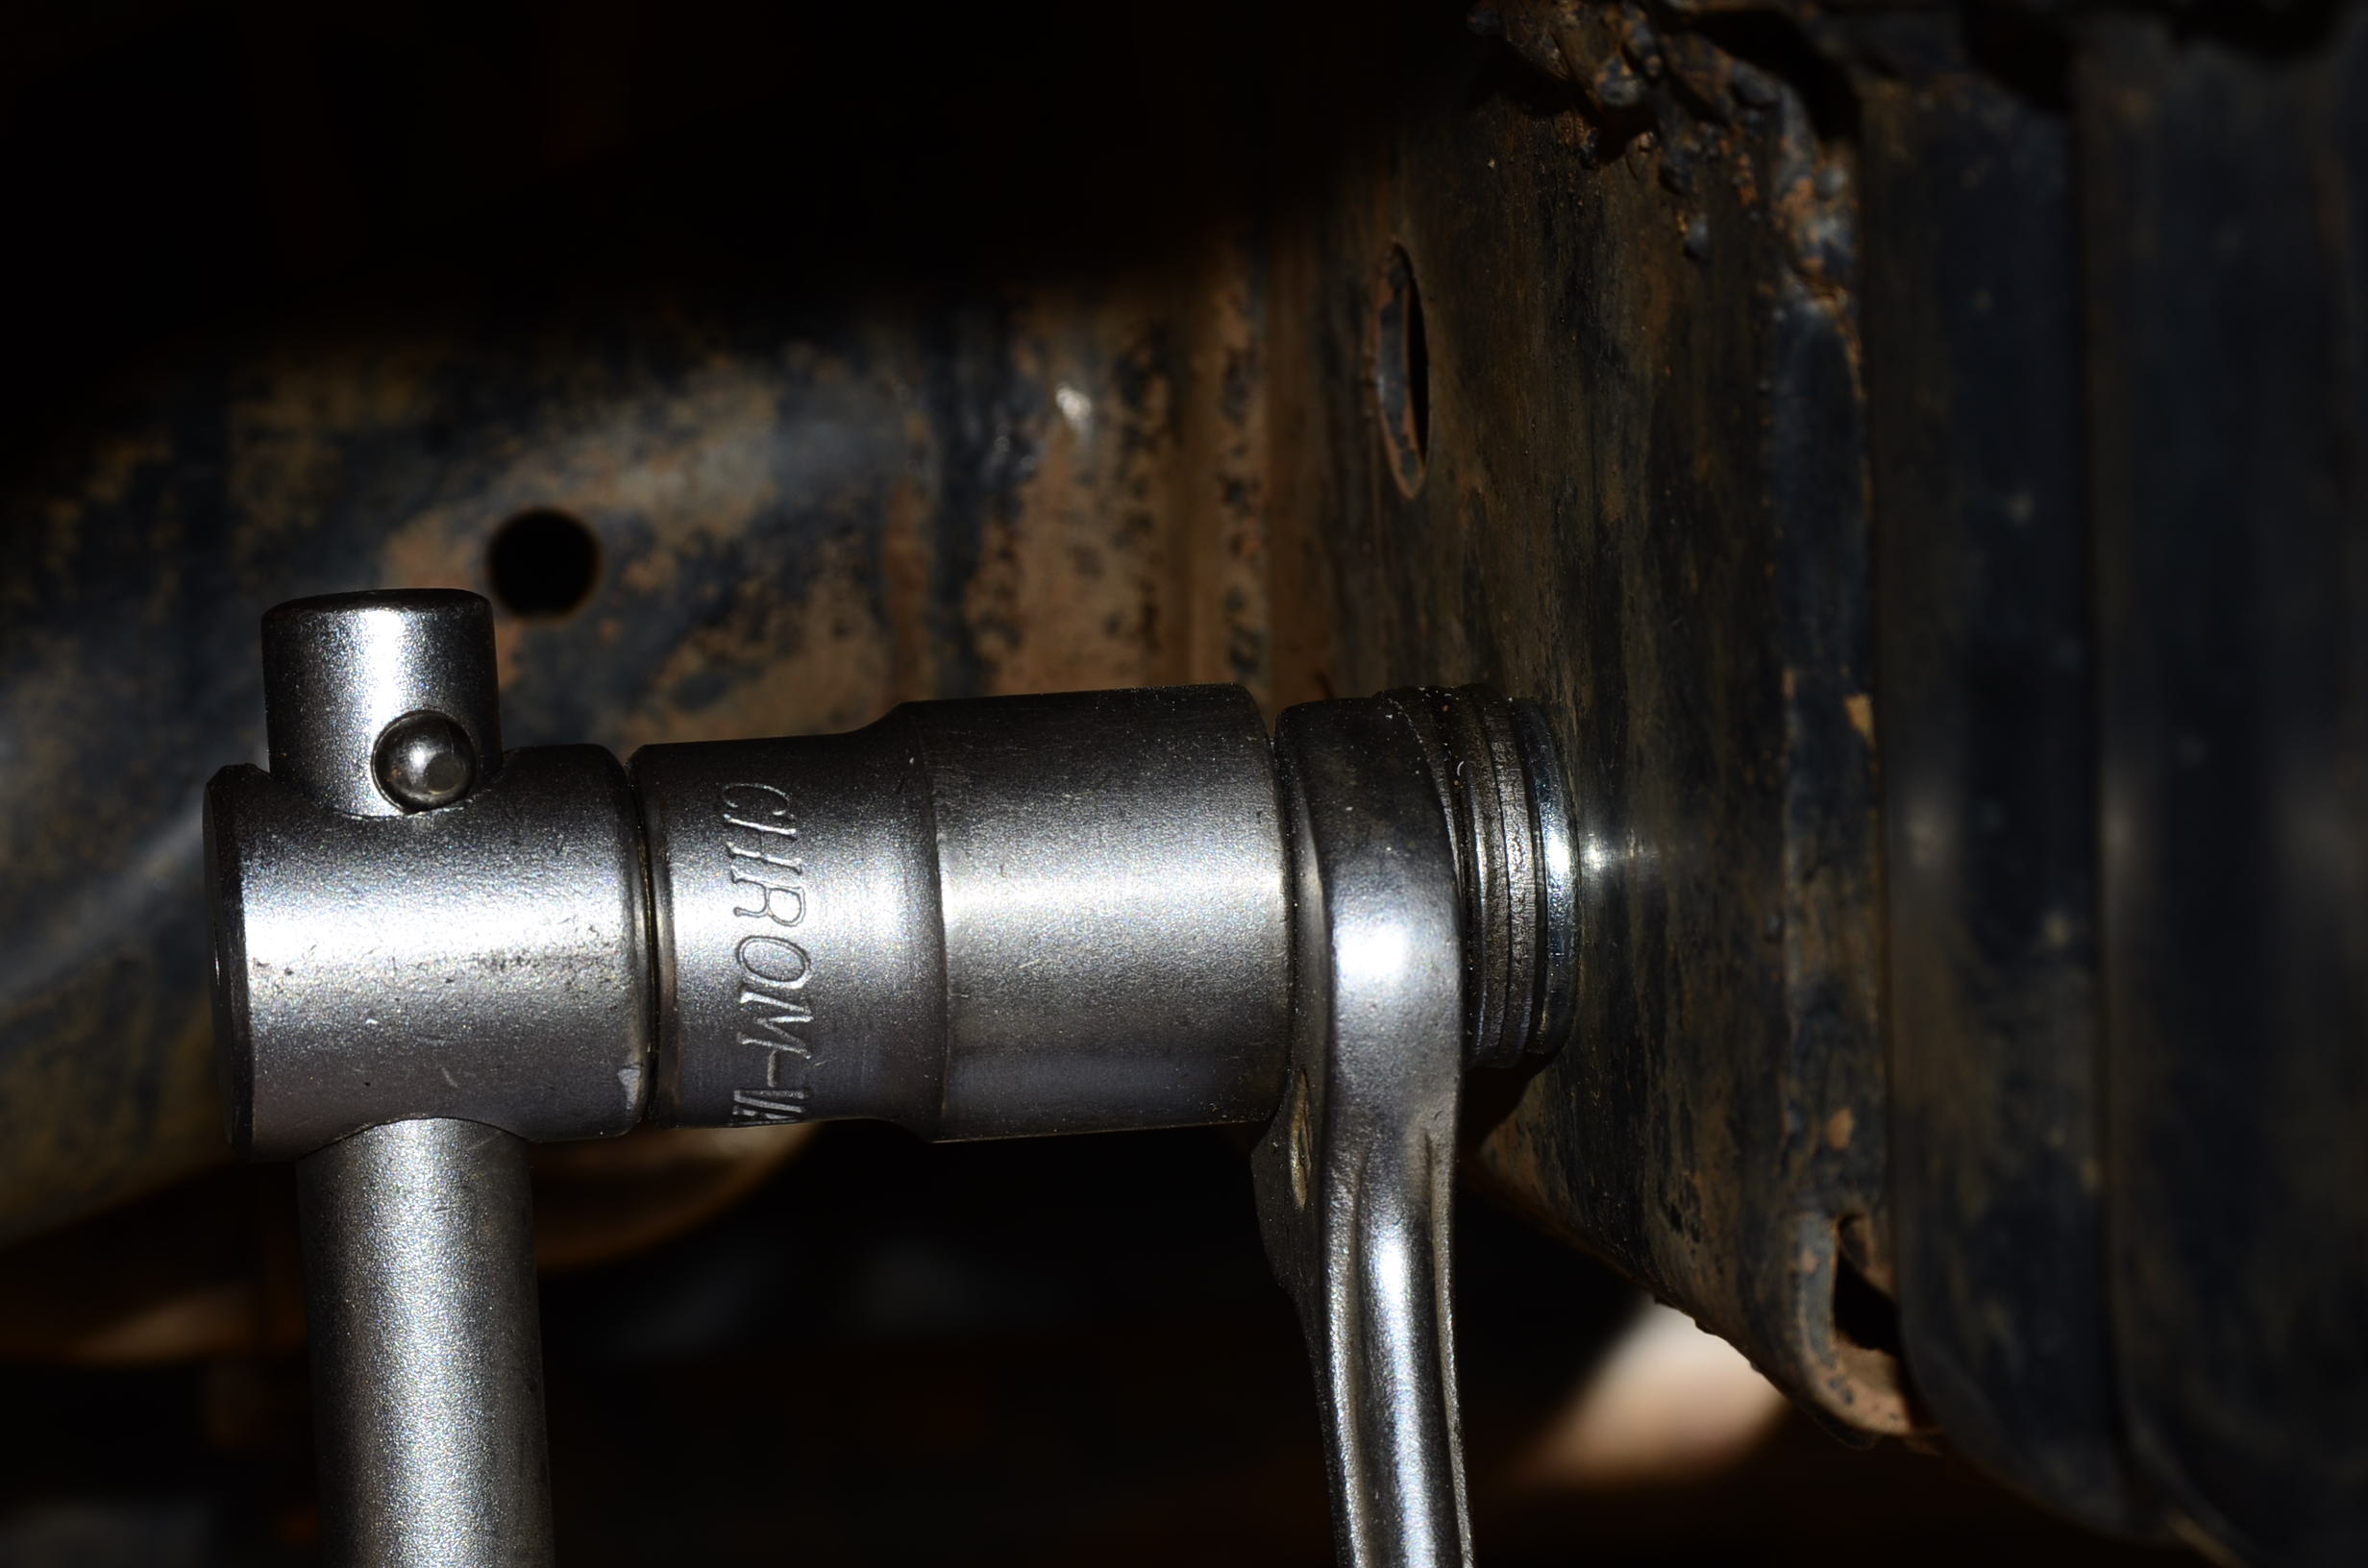
- _DSC3546.JPG (349.1 KiB) Viewed 2335 times
Step 3: Using the same process, fit the other two rivnuts.
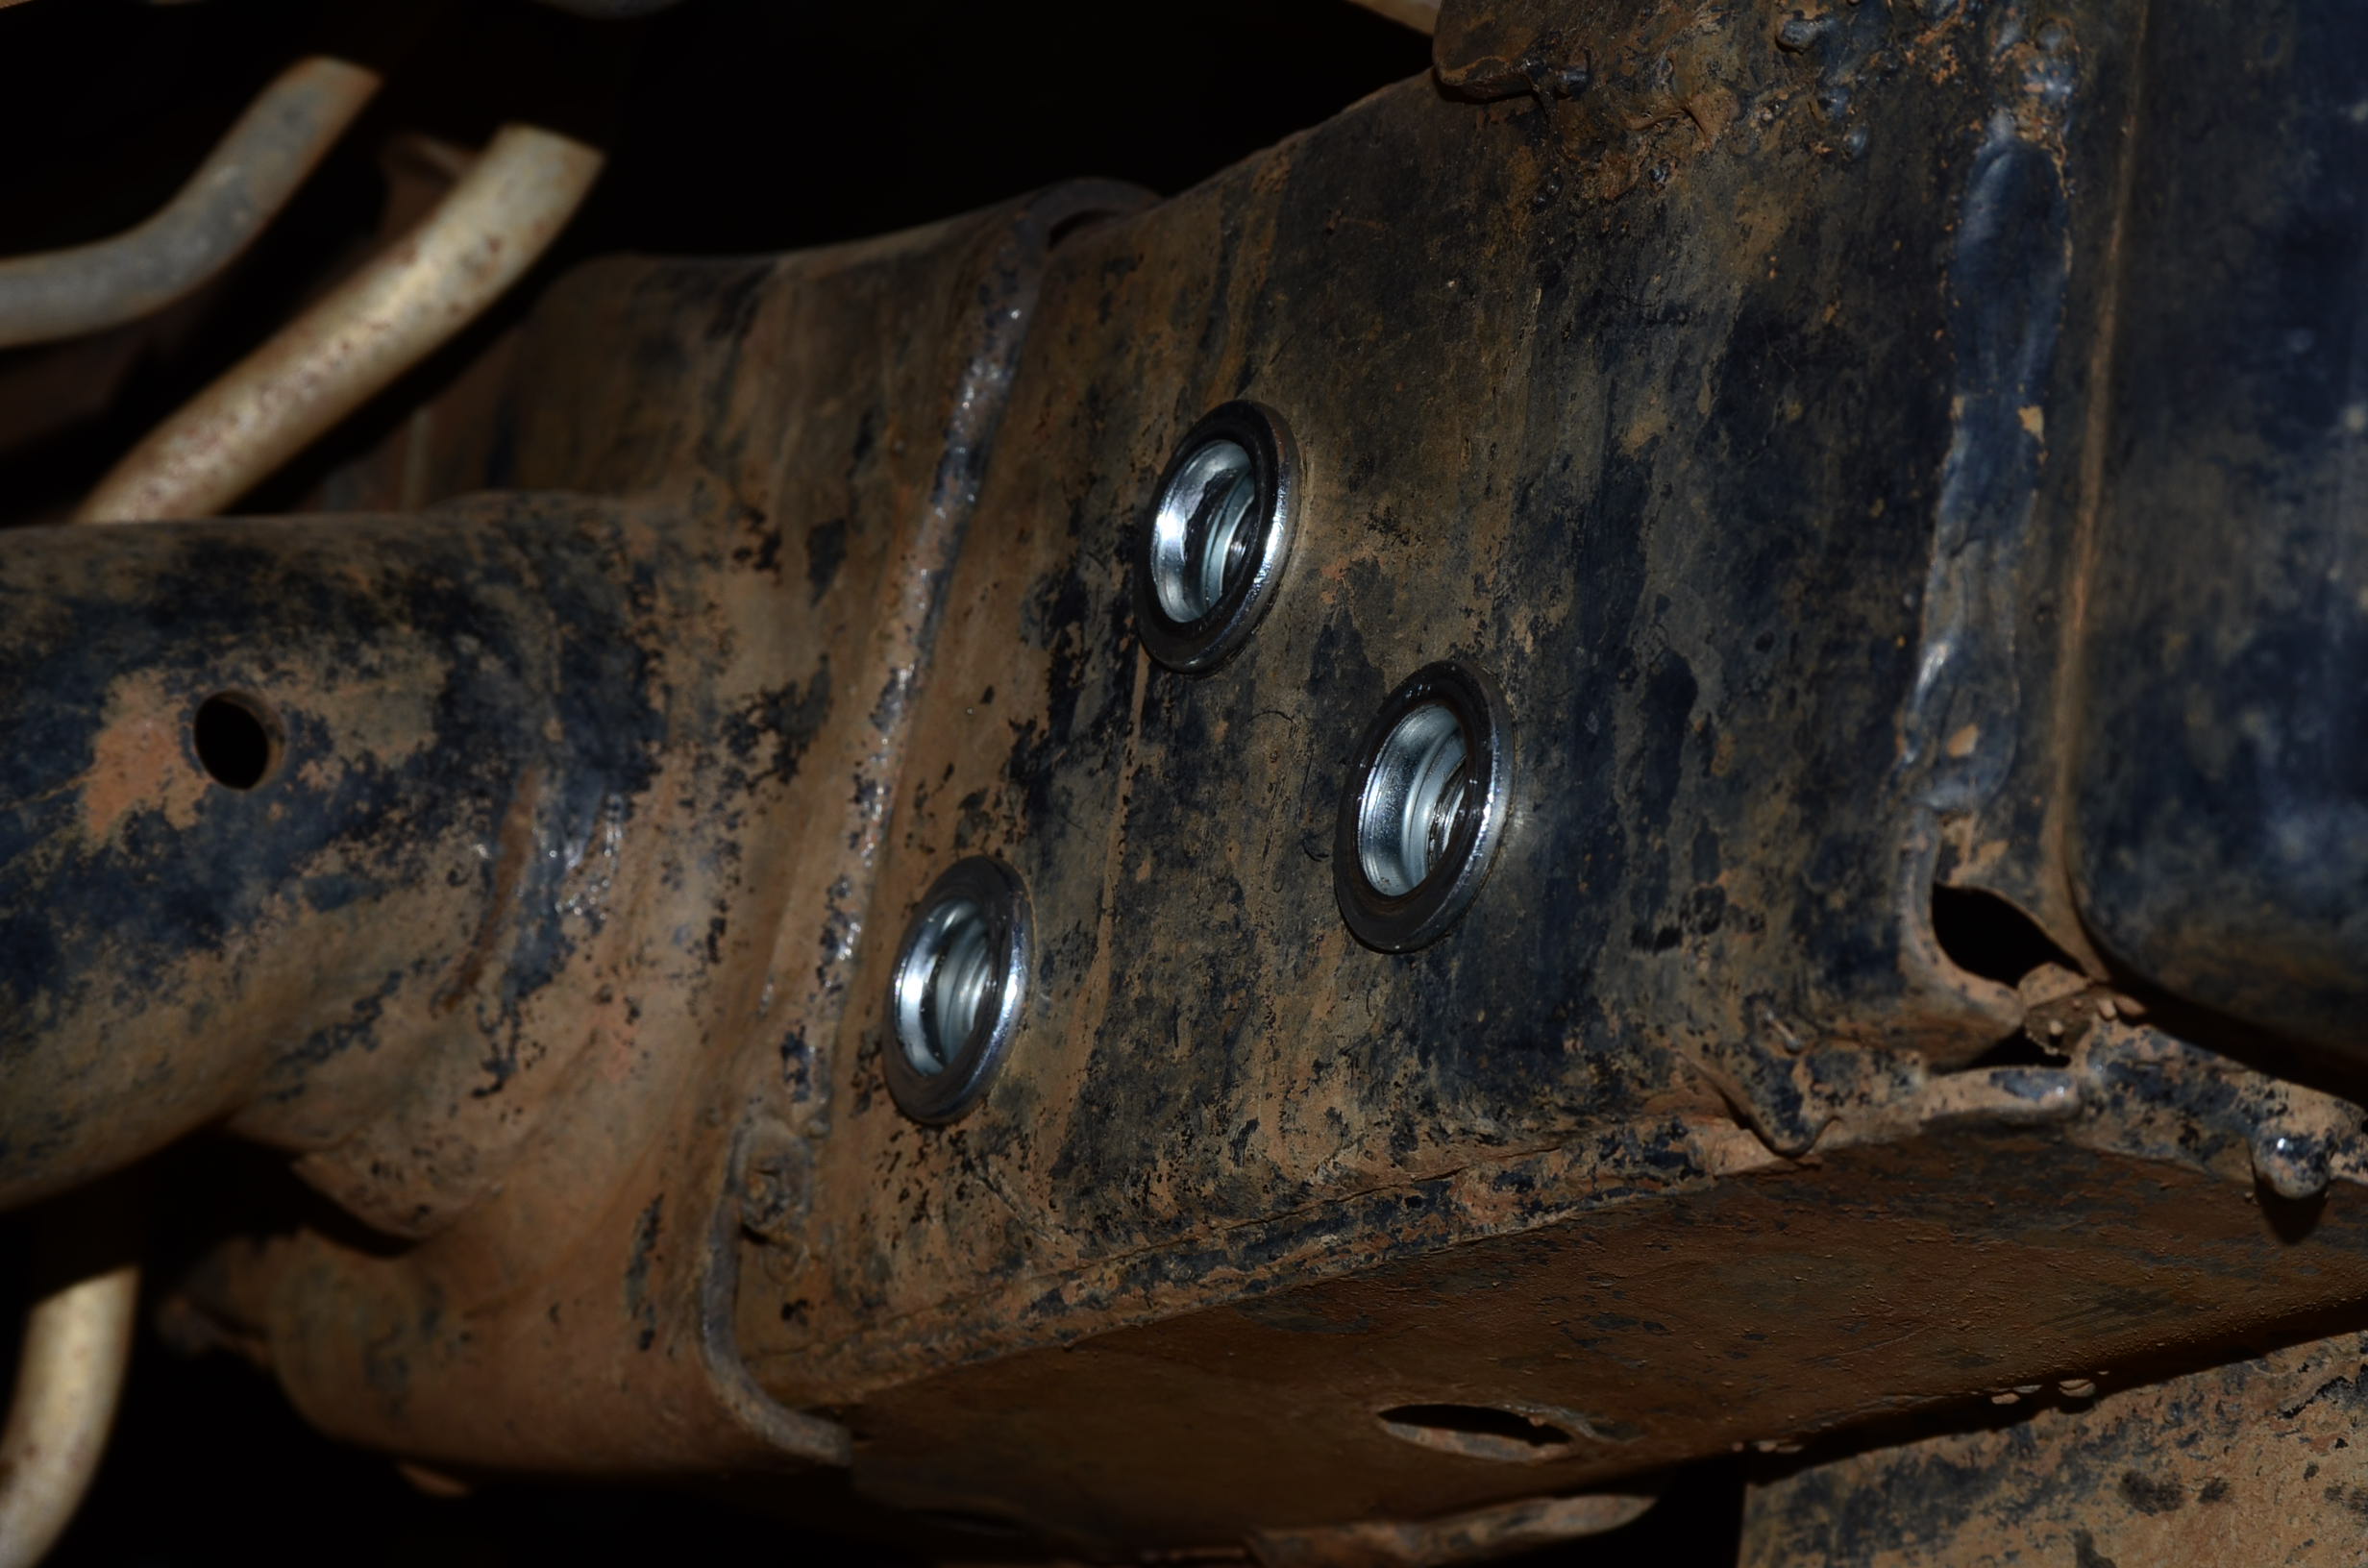
- _DSC3547.JPG (418.2 KiB) Viewed 2335 times
Now, bolt on the recovery points, either as a welded assembly with the bash plate as seen below, or by sliding them through the slots in the bashplate.
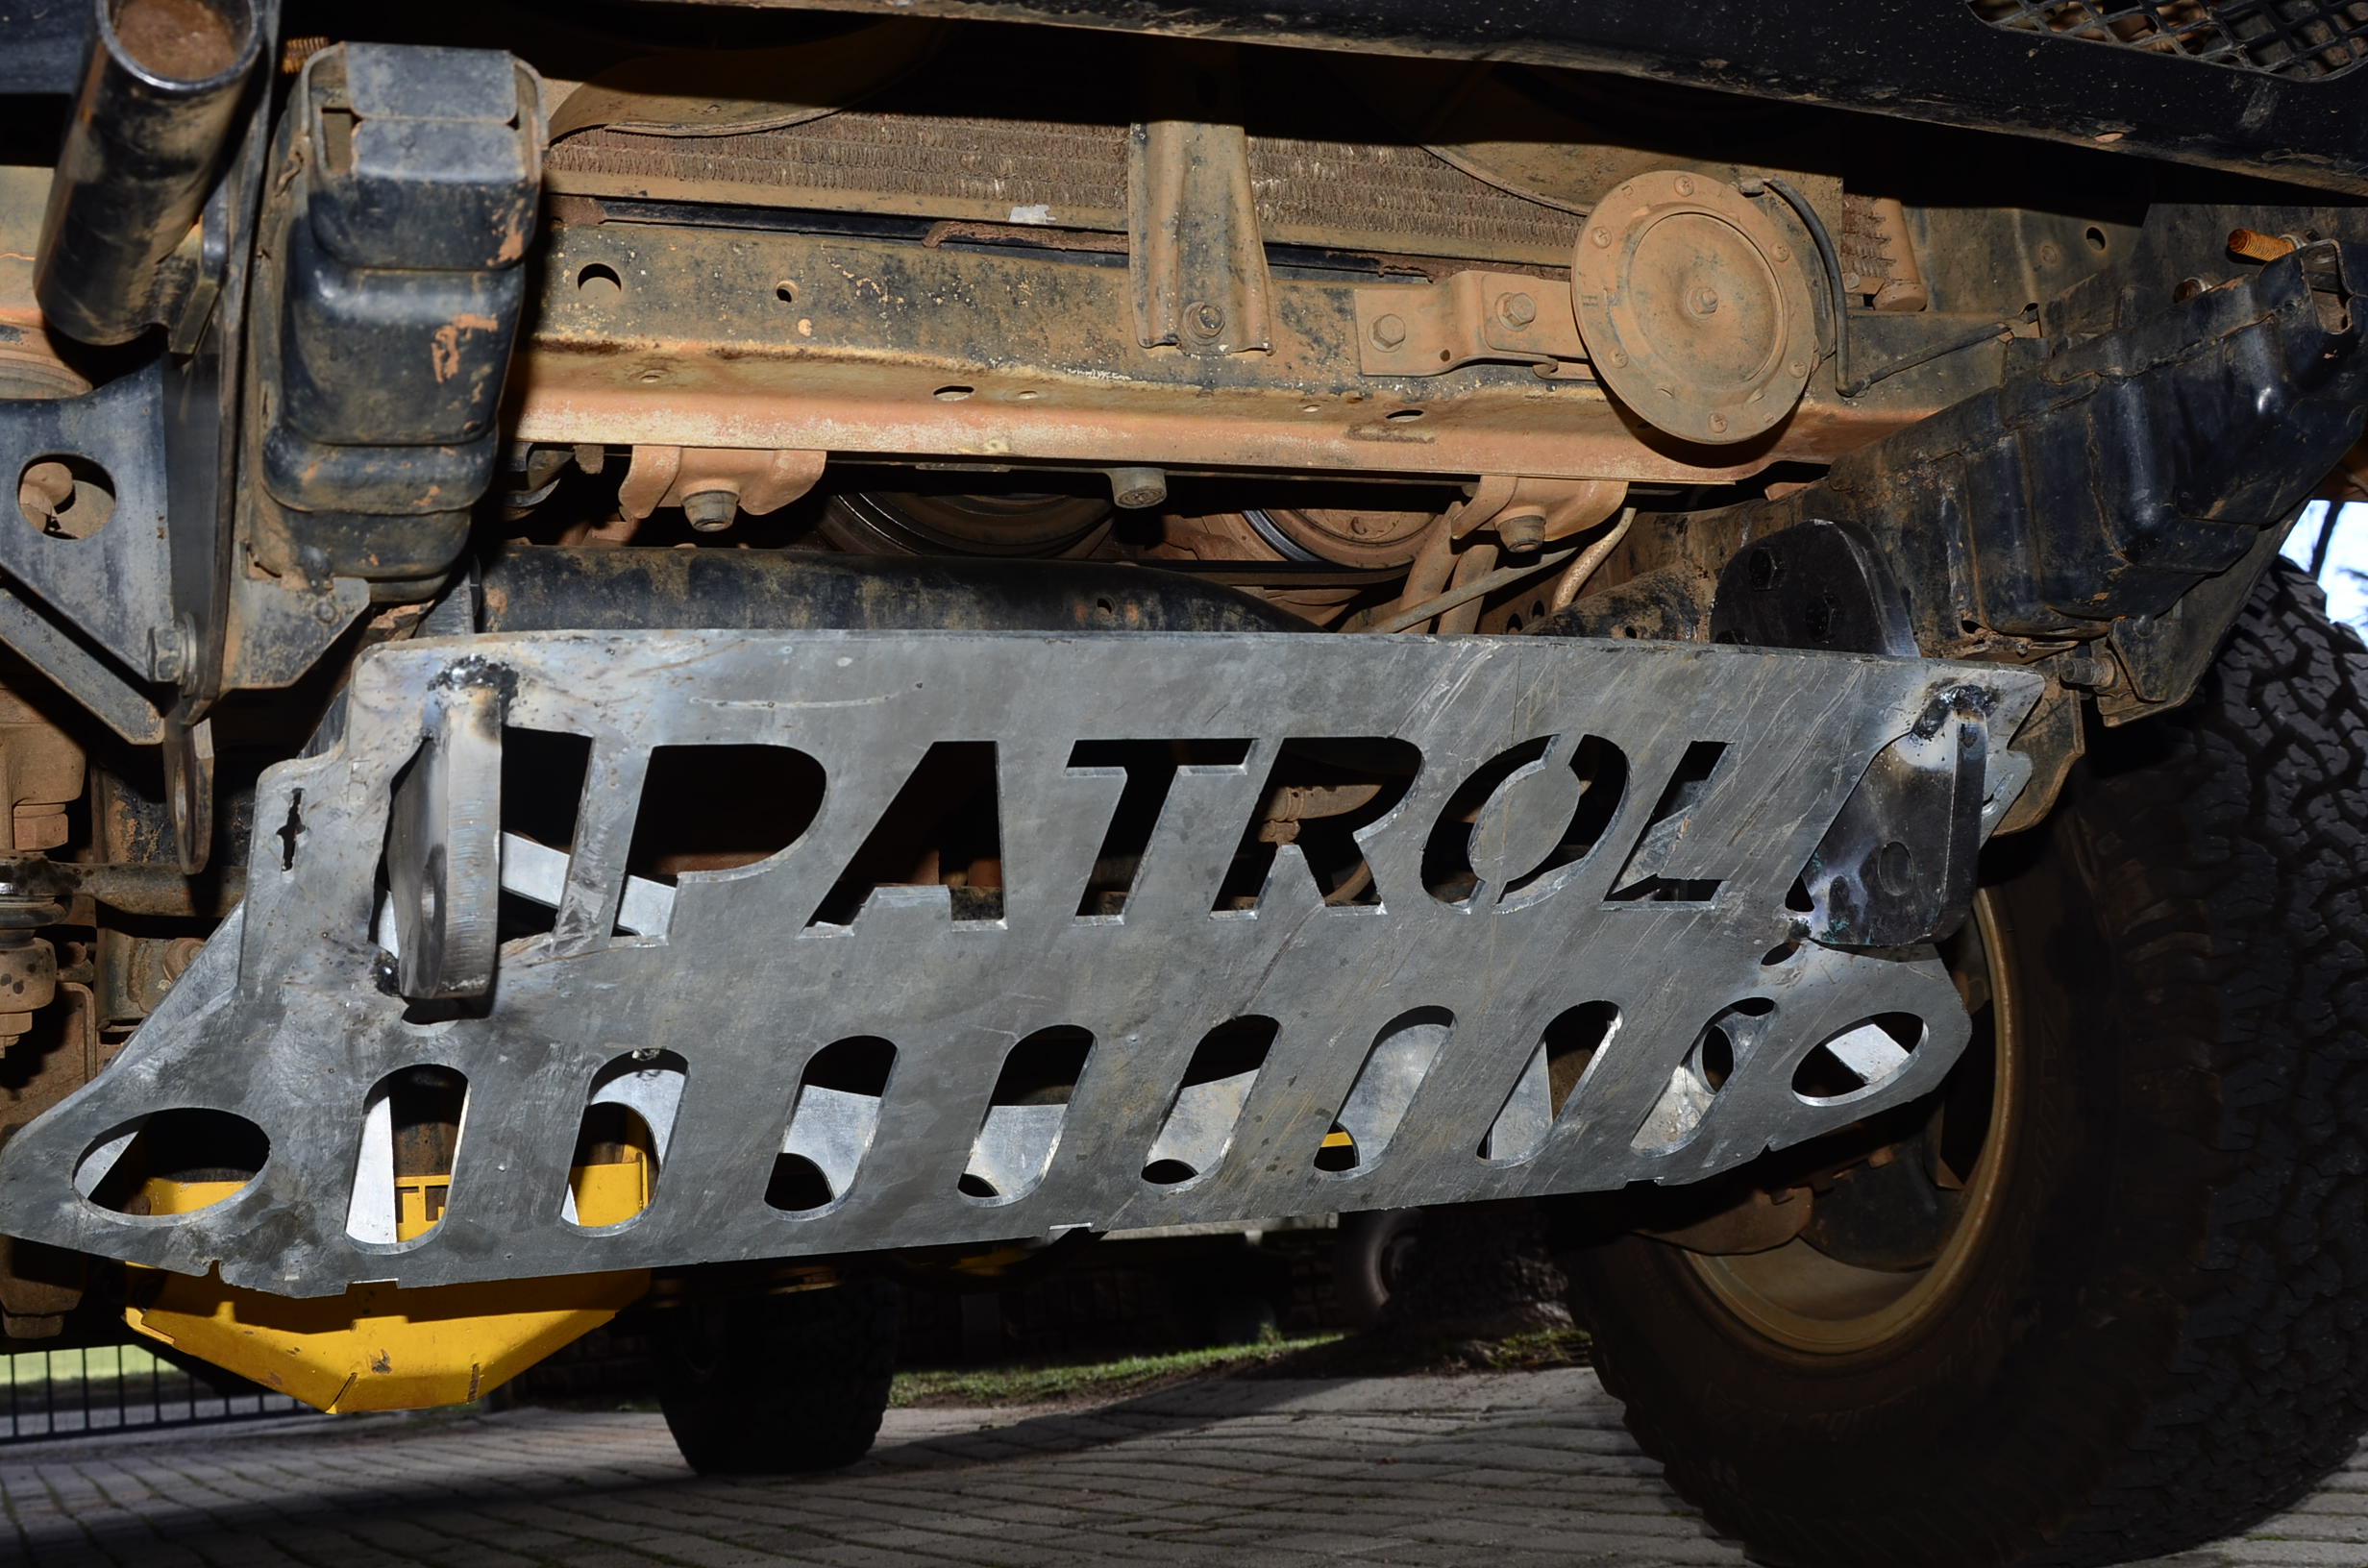
- _DSC3551.JPG (563.34 KiB) Viewed 2335 times