Herewith the final post for the folk who has been following this.
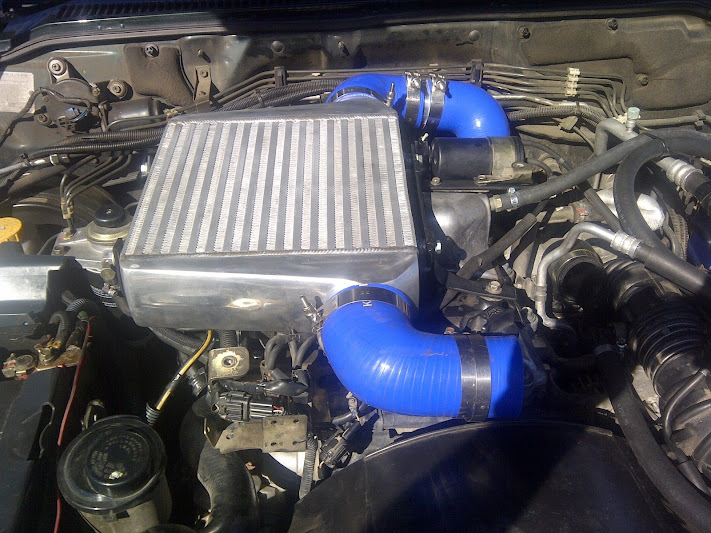
Jantie, a fellow Patrol owner, very graciously offered to help me with the installation of the inter-cooler and we spent most of Sunday at his house. I would like to state for the record that Jantie must take all the credit for the work, I just helped here and there. (Hy mag maar spanners swaai! )
I only have pictures of the installation as at completion.
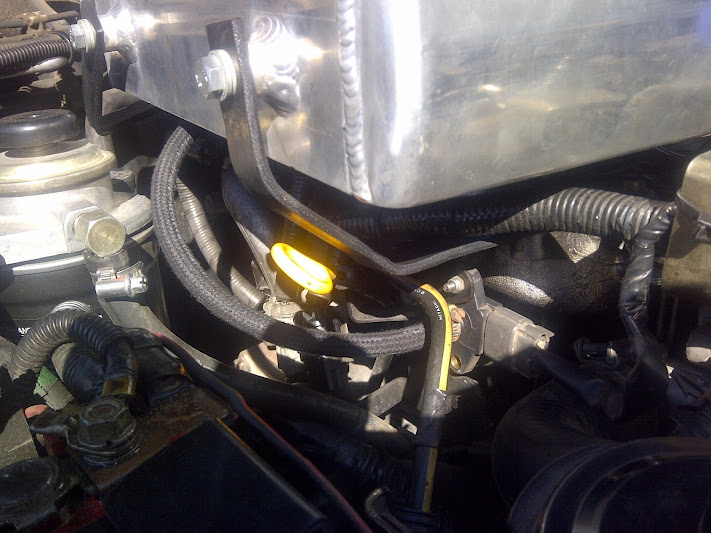
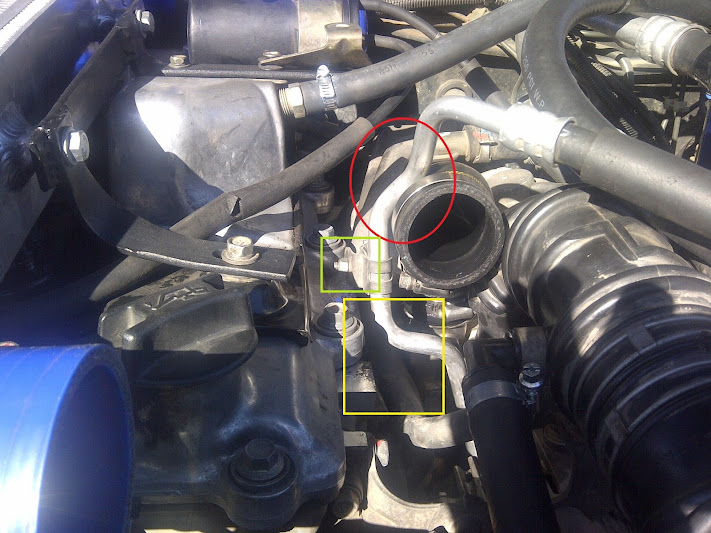
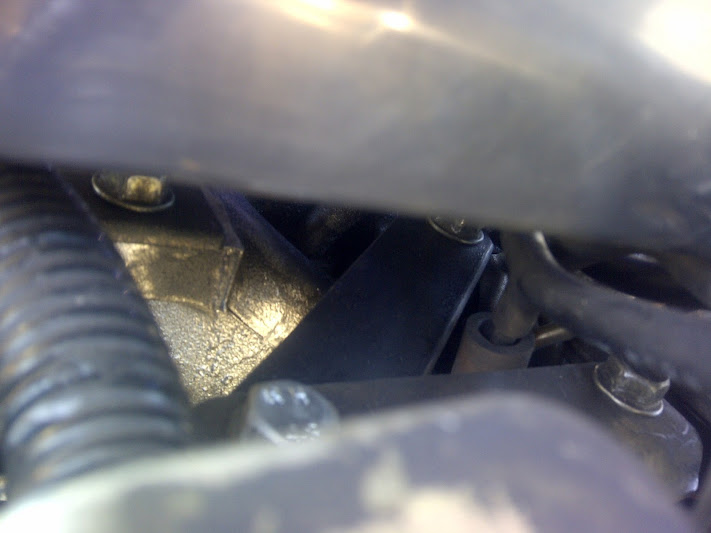
In a previous post I mentioned that the bracket holding the solenoid needed to be moved to make space for the new inter cooler.
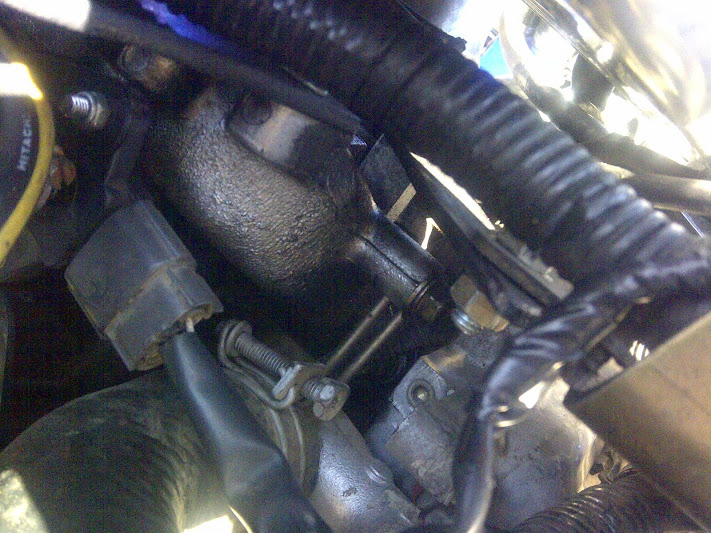
This bracket has 3 bolts holding it to the intake manifold: 2 at the rear and one forward of that (forming a right triangle with the sharp side towards the radiator). (Red rectangles in the picture below)
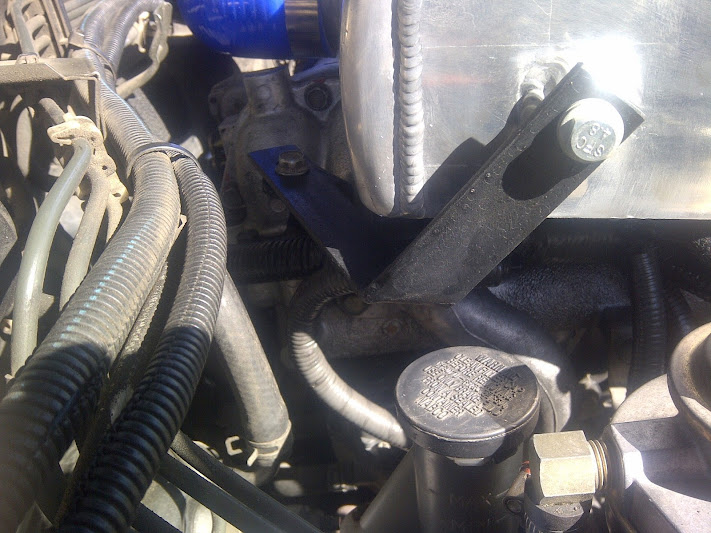
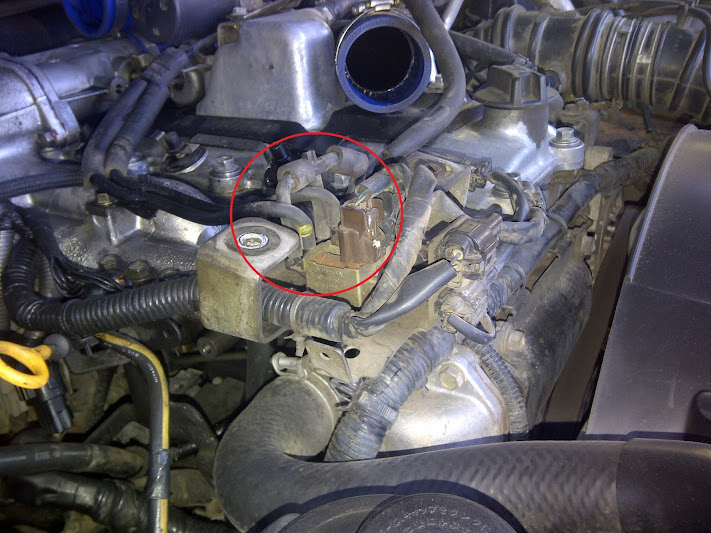
For the new location, the right-hand side 'ear' was cut off (large red rectagle) and the 2 electrical plugs were removed from their original mounting points. The bracket was moved forward to the radiator with the right rear hole being bolted to the right front hole.
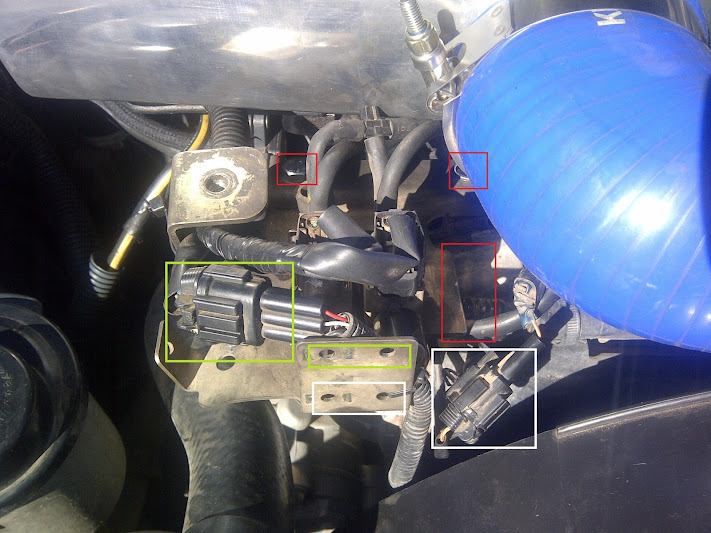
The left rear hole was mounted on a piece of flat-bar that runs diagonally from the right rear hole of the original mount.
That's it for now. I'll do a write-up if the rest of the installation later on.
ZD30 Catch Can installation & inter cooler replacement
- Stefan
- Moderator
- Posts: 1692
- Joined: 28 Apr 2009 08:43
- Full Name: Stefan de Villiers
- Nickname: Stefan
- Home Town: Bothasig, Cape Town
- Current 4x4: 2002 3.0 GL Patrol
- Home Language: Afrikaans
- Location: Cape Town
- Has thanked: 175 times
- Been thanked: 49 times
- Contact:
Re: ZD30 Catch Can installation & inter cooler replacement
The intercooler rests very easy on the intake manifold at the rear, so to give it a good gap and not interfere with the closing of the bonnet, we used a piece of 6mm plank as a spacer.
The first bracket we made up was the Left front which got a bend so as to not hamper the dipstick. You can also see the new position of the Boost sensor.
The right-hand side bracket was completed next and at the rear the bracket was made a little longer to move the black round thing which was in the way.
Lastly the left rear bracket was heated and bent.
The fitting of the pipes at the rear of the inter-cooler presented no problems. The some could not be said for the front though. It took some careful studying of Driko's pictures to see how to do it.
The first thing to do was to re-route the catch-can pipes. Routing with Nissan inter-cooler:
Routing with bigger intercooler:
This still did not leave enough space for the existing elbow pipe to be fitted, so the engine block lifting attachment was removed (Yellow) and the aircon pipe mounting was moved to the other side of it's bracket (Green) this left enough space for the elbow to fit through, but there is still a bend in the aircon pipe that prevents any pipe to penetrate the bend. (Red Oval)
This was what we had at this point in time and the supplied parts had all been used.
As I had to get home, Jantie made a plan which used the silicone and steel pipes that was left over from the old inter-cooler to make a 90 degree bend that stepped down from 63mm to 45mm.
On Monday I went to Powerflow and had them make up a stainless steel pipe to replace the makeshift solution we came up with.
I have toyed with the option of cutting the black 90 bend at the end that goes into the turbo so see if I can't get the pipe to not be obstructed by the aircon pipe, but I guess I'll have to go to an aircon place and have them do something to that section of pipe.
-
- Senior Member
- Posts: 134
- Joined: 22 Oct 2009 14:41
- Full Name: Bruce Williamson
- Nickname: Unkredible
- Home Town: Rivonia
- Current 4x4: '05 Patrol 3.0GL converted to TD42i
- Home Language: E
- Has thanked: 27 times
- Been thanked: 23 times
Re: ZD30 Catch Can installation & inter cooler replacement
Hi Stefan,
Reviving this thread...
Do you have final feedback on the performance of your upgraded IC?
I am about to embark on the same project - My OEM IC has started leaking, I am looking to do the same upgrade you did.
Are there any others who have done similar?
Thanks
Bruce
Reviving this thread...
Do you have final feedback on the performance of your upgraded IC?
I am about to embark on the same project - My OEM IC has started leaking, I am looking to do the same upgrade you did.
Are there any others who have done similar?
Thanks
Bruce
2005 Patrol GL ex 3.0d now TD42
285x75x16 MT
40l S/S Nat Luna Beer Fridge, with Draught tap...
Bigger Intercooler, EGT, Boost Gauge
DC-DC Charger
285x75x16 MT
40l S/S Nat Luna Beer Fridge, with Draught tap...
Bigger Intercooler, EGT, Boost Gauge
DC-DC Charger
- Stefan
- Moderator
- Posts: 1692
- Joined: 28 Apr 2009 08:43
- Full Name: Stefan de Villiers
- Nickname: Stefan
- Home Town: Bothasig, Cape Town
- Current 4x4: 2002 3.0 GL Patrol
- Home Language: Afrikaans
- Location: Cape Town
- Has thanked: 175 times
- Been thanked: 49 times
- Contact:
Re: ZD30 Catch Can installation & inter cooler replacement
Bruce,
If I recall correctly, over and above his own, Driko helped about 3 other guys with their installations.
-
- Senior Member
- Posts: 134
- Joined: 22 Oct 2009 14:41
- Full Name: Bruce Williamson
- Nickname: Unkredible
- Home Town: Rivonia
- Current 4x4: '05 Patrol 3.0GL converted to TD42i
- Home Language: E
- Has thanked: 27 times
- Been thanked: 23 times
Re: ZD30 Catch Can installation & inter cooler replacement
Upgrade done and dusted yesterday. Managed to do it in a day, with lots of trial and error, but all air leaks gone, engine sounds and feels much better.
Will need to remove the brackets and spray them next weekend.
Thanks for all the help...
Will need to remove the brackets and spray them next weekend.
Thanks for all the help...
2005 Patrol GL ex 3.0d now TD42
285x75x16 MT
40l S/S Nat Luna Beer Fridge, with Draught tap...
Bigger Intercooler, EGT, Boost Gauge
DC-DC Charger
285x75x16 MT
40l S/S Nat Luna Beer Fridge, with Draught tap...
Bigger Intercooler, EGT, Boost Gauge
DC-DC Charger
Who is online
Users browsing this forum: No registered users and 22 guests